This course section introduces practical image tools that many beginners want to use right away for social graphics and personal projects.
The lessons previewed here focus on bringing in your own images, choosing images from Canva’s built-in library, organizing layouts with grids, and placing photos inside frames. The aim is beginner confidence, not advanced photo editing.
This guide previews lessons 4-7 from the full Canva Crash Course for Beginners.
Course preview
These lessons help beginners understand how images can be arranged cleanly before they move into more text-heavy layouts.
What Beginners Explore Here
Uploading personal photos and files into Canva.
Using Canva’s built-in photo library when you need ready-to-use visuals.
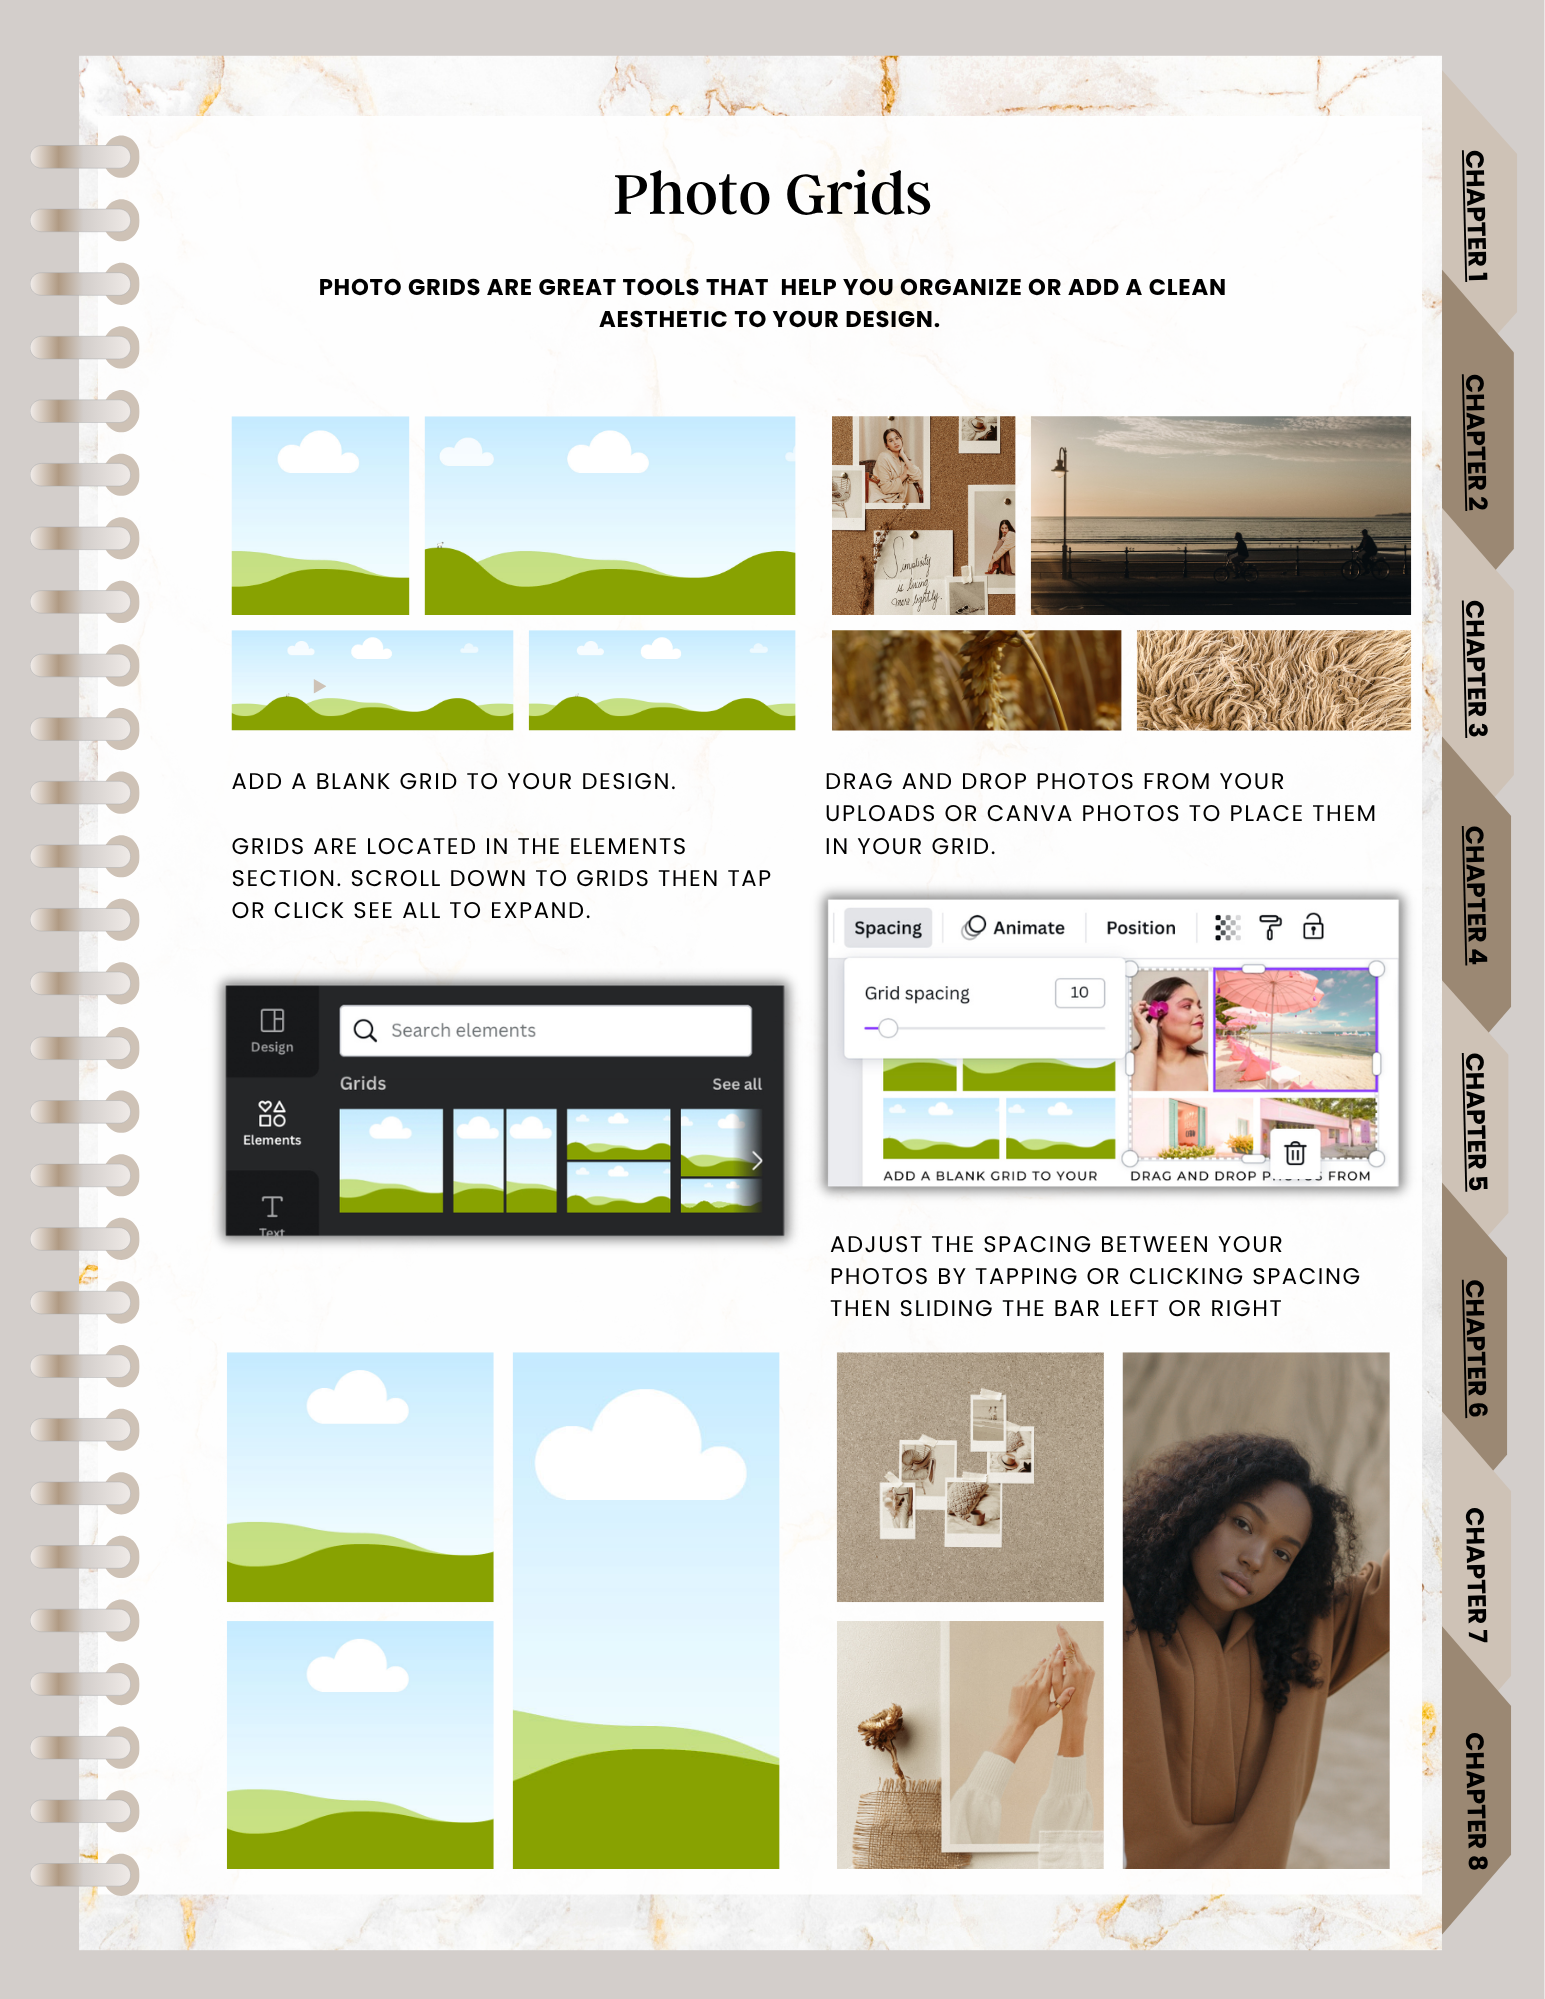
Creating photo grids to organize multiple images in one design.
Using photo frames to place images inside shapes.
Why These Tools Matter
Uploading your own image gives you control over personal photos, brand assets, or project files, while Canva’s library can help when you need a built-in image option. Grids can make multi-image layouts feel tidier, and frames can help photos fit neatly into shaped areas.